
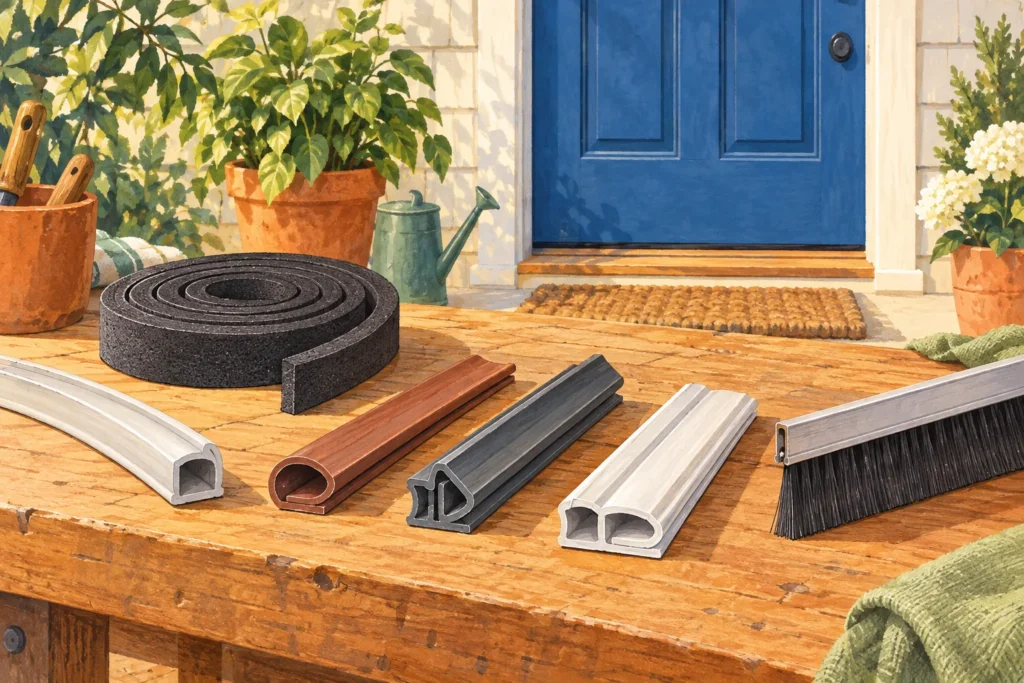
A mobile home door seal has to touch the right surface when the door closes. Before buying thicker weatherstripping, identify the leaking joint, the existing seal profile, and whether the door still closes squarely. A worn gasket, a loose frame joint, and a damaged threshold need different repairs.
Use the opening repair overview when the symptoms extend beyond the seal.
The useful purchase is a matching seal that compresses without fighting the latch. The words “mobile home” on a package cannot establish that fit. Your door’s mounting system and contact surfaces matter more than the home’s age.
Which mobile home door seal actually needs attention?
Start with the door closed and latched normally. Look for daylight and feel for moving air around the edge, then along the surrounding trim. Open the door and trace the existing gasket before removing anything.
There are three different joints to identify. Keeping them separate prevents a cheap seal repair from becoming a door that won’t open.
| Leak location | What belongs there | What to check first | Wrong shortcut |
|---|---|---|---|
| Between the moving door and its stop or frame | A compatible flexible weatherstrip | Profile, mounting method, contact, and normal latching | Caulk or expanding foam across the opening |
| At a fixed trim or perimeter joint | A compatible sealant where the assembly instructions require one | Which joint leaks, surface condition, and drainage details | Sealing every visible seam without identifying its purpose |
| Between the installed frame and the wall’s rough opening | The specified concealed air sealing treatment | Frame condition, access, flashing, and the opening manufacturer’s instructions | Using a can of foam as weatherstripping or structural support |
| At the bottom of the closed door | The matching bottom seal, sweep, or threshold insert | The actual bottom assembly and its contact line | Sticking a perimeter foam roll across the walking surface |
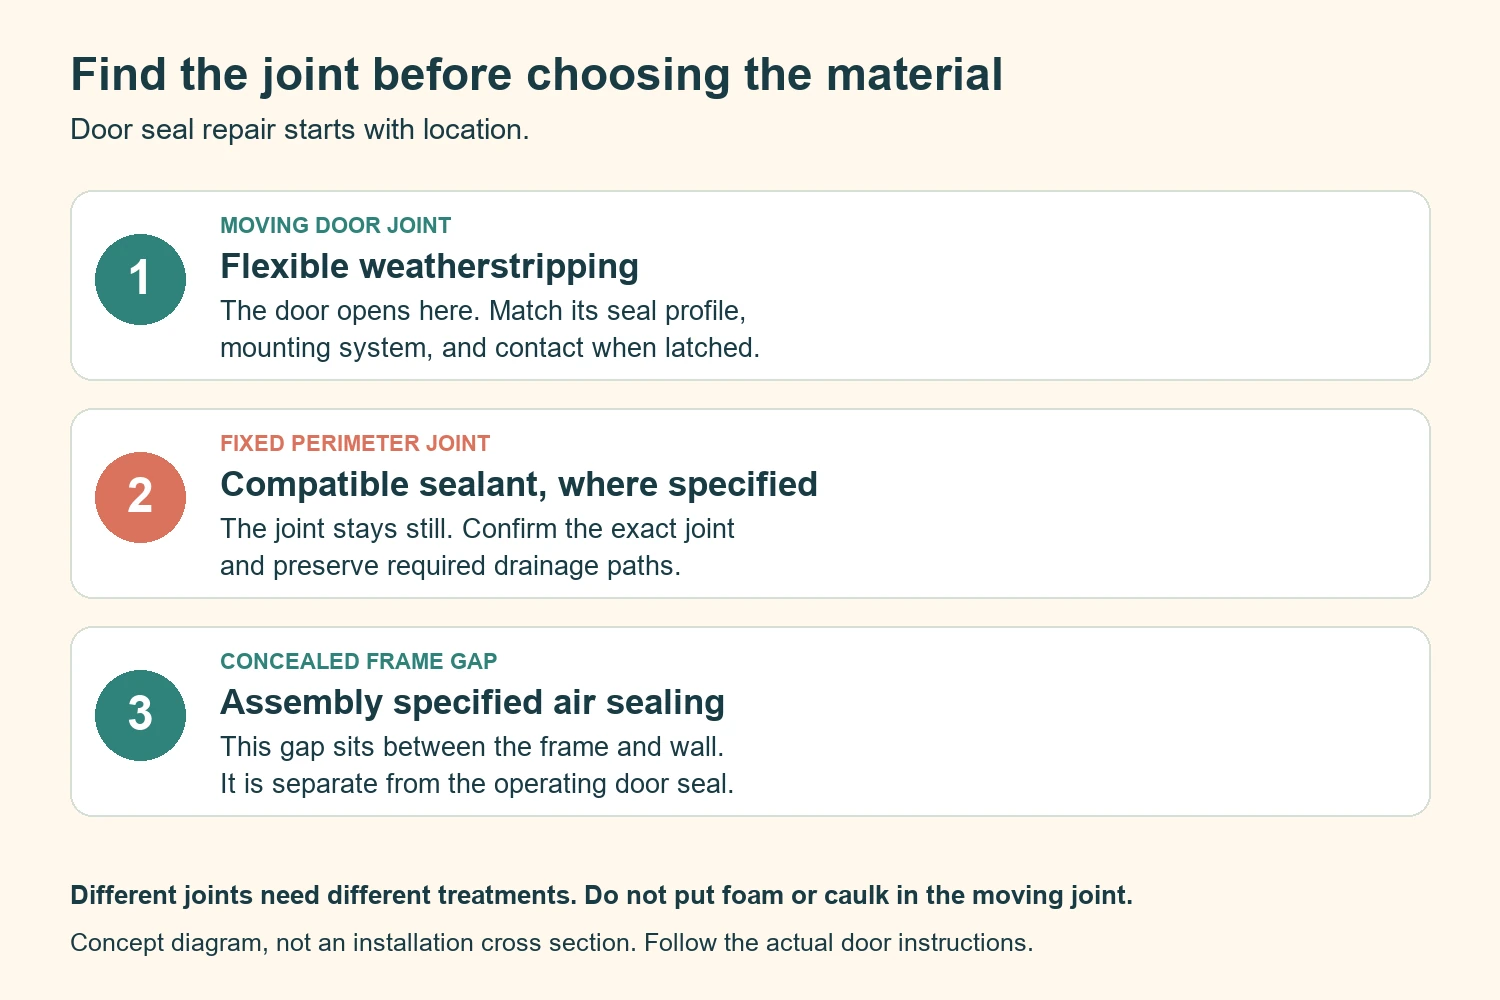
A rough opening is the framed hole around the door unit. Its concealed gap stays in place when the door swings. Weatherstripping seals the operating joint that opens every time you enter.
Official air sealing guidance makes this same distinction between movable components and fixed openings. These materials are alternatives for different locations, not a shopping list to install together.
Map the contact before blaming the weatherstripping
Use a simple sketch of your doorway. Mark the top, hinge side, latch side, and bottom. Record where you find a draft, visible damage, or a change in closing resistance.
Compare the door’s clearance around the opening. A gap that widens toward one corner deserves an alignment check. Adding a thicker gasket there can hide the symptom while leaving the underlying fit unresolved.
Use paper as a contact comparison
Close the door gently on a strip of paper at one location. Pull the paper, then repeat elsewhere using the same strip. Keep fingers clear of the closing edge and latch.
A place where paper slides freely is worth investigating. The Department of Energy’s assessment guide describes a paper check for finding possible air leaks. Treat your results as a comparison, not a measurement of the gap or leakage rate.
Paper thickness, the gasket surface, and your pulling angle affect the feel. A tight paper grip does not prove the entire door is airtight. A free strip also does not tell you which replacement thickness to buy.
| Location | Record these observations | Next question |
|---|---|---|
| Top, near each corner and center | Paper resistance, daylight, damaged ends | Is contact missing everywhere or only at one end? |
| Hinge side, upper and lower sections | Binding, rubbed gasket, uneven clearance | Does the door rub before it reaches the stop? |
| Latch side, above and below the lock | Contact and whether the latch engages without a push | Does normal closure bring the door against the seal? |
| Bottom, including both corners | Loose insert, torn sweep, water marks, scraping | Which bottom component forms the intended seal? |
| Trim around the frame | Air movement outside the operating joint | Is this a fixed opening problem instead? |
This worksheet is an inspection aid, not a test standard. Its value is preserving a pattern you can compare after the repair. A photo of each marked location makes that comparison easier.
Separate worn material from a door that misses the material
A split, missing, detached, or permanently flattened section is a clear reason to investigate the seal itself. An intact gasket that touches at one end but misses at the other needs a closer fit assessment. Both conditions can exist on the same door.
Check for loose hardware, rubbing, and a latch that requires lifting or pushing the door. The current federal weatherstripping job aid puts needed door adjustments before new weatherstripping. It does not treat extra gasket thickness as the adjustment.
Arrange an assessment if the frame moves, wood is soft, or cracks are developing around the opening. Repeated seasonal changes also deserve diagnosis before another seal purchase. A new gasket cannot repair decayed support or establish why an opening moved.
Identify the profile and mounting system before shopping
Profile means the shape seen at the end of a short seal section. It might resemble a rounded bulb, a D, a folded flap, or a flat strip. That shape is only part of the match.
Photograph the seal installed, its exposed end, and the surface it contacts. Keep a small old sample if removal is appropriate. A worn sample helps identify the mounting system, but its crushed height may no longer represent the original size.
Adhesive tape needs a suitable landing surface
Adhesive weatherstripping attaches to a flat surface with a peelable backing. Check whether the available landing is wide enough and sound enough for the adhesive. Loose paint and old adhesive are not a reliable new mounting surface.
Also watch how the door approaches that surface. A compression gasket is meant to squeeze at closure. Do not assume a strip will survive where the door edge scrapes along it during every swing.
A groove or retainer needs its own matching insert
If a seal has a stem held in a narrow groove, record that attachment separately from the exposed bulb. A similar looking bulb on adhesive tape is not the same replacement. Ask the door manufacturer for the appropriate insert and installation directions.
Likewise, photograph any metal carrier, channel, or retaining strip. Do not pry apart an unfamiliar retainer merely to obtain a sample. A readable part label and several clear photographs may be enough to identify it.
For a retained replacement, ask the supplier to confirm the attachment dimensions, profile, installed projection, and exact door application. Have them explain whether the old carrier remains. Stop if the answer is only that it “fits mobile homes.”
Door swing changes where the seal works
Some manufactured home doors swing outward; others are part of an entry and storm door combination. Inspect the operating entry door separately from its outer layer. A gasket on one door does not identify the gasket on the other.
Older outward swinging assemblies can seal against a flange around the door. A conventional picture of foam stuck around an interior stop may not describe that arrangement. Match the actual contact line rather than moving the seal to a convenient surface.
For unfamiliar legacy hardware, send the manufacturer or a specialist the photos before buying a substitute. Home age is useful background for identification, but it is not a seal specification. If no exact replacement can be established, get the assembly assessed.
Measure thickness, width, and length as different things
A replacement mobile home door seal needs enough projection to contact the door without preventing closure. Package width is the footprint across the mounting surface. Package thickness is the uncompressed height, not an automatically approved gap size.
Record both dimensions for your candidate. Then compare its stated application with the actual closed joint and the available landing. If the maker does not publish a suitable gap range, ask rather than treating the thickness as that range.
Measure every run that the matching installation instructions specify. Write down the top and each side separately. Check whether the bottom uses a separate part instead of including it in the perimeter roll.
For example, suppose your measured side runs are each 74 inches and the top run is 32 inches. The calculated total is 74 + 74 + 32 = 180 inches, or 15 feet. These are hypothetical seal runs, not a standard door size.
A 17 foot package would leave 24 inches before cutting waste in that example. It would not prove the profile fits. Nor would it cover a bottom assembly unless the product instructions specifically assign it that use.
Avoid buying from the longest gap alone. If a strip seals the loose corner but jams the tight corner, it has not solved the fit problem. Revisit alignment and the correct profile.
When an adhesive D profile is a reasonable candidate
An adhesive roll can be useful when your door has a suitable flat landing and the specified profile can compress properly. It is less useful when you need a retained insert or a replacement bottom seal. The mounting method comes first.
The Frost King V25WA white EPDM weatherseal provides one documented profile example. The maker identifies this D profile as 5/16 inch wide, 1/4 inch thick, and 17 feet long. It is described for medium gaps, without a numerical compressed gap range on the family page.
That makes it a product to compare with your opening, not a universal recommendation. Choose an OEM insert instead if your door requires one. Choose a different profile if this one prevents normal latching.
Check the selected model, dimensions, and package quantity before ordering. Color or a similar product photo is not enough to establish the variant. This example does not establish current availability, a durability ranking, or fit for your door.
Install only the weatherstrip your assembly accepts
The following preparation sequence helps organize the job. The actual placement and attachment must come from the instructions for your selected seal and door. Do not transfer a drawing from a different swing or retaining system.
- Save the baseline. Photograph the old profile, corner joints, and mounting locations. Record how the door closes before the change.
- Resolve door operation first. Investigate rubbing or failed latching before sizing the new seal. Use applicable hardware instructions or arrange service.
- Prepare the correct surface. Remove old material only after confirming the replacement. Follow the manufacturer’s cleaning directions and protect the existing finish.
- Check installation conditions. Use the selected product’s temperature limits and surface requirements. A dry afternoon does not necessarily mean a damp frame is ready.
- Fit and cut as directed. Confirm each run and corner arrangement before committing the entire length. Do not invent a double layer to make a mismatched profile work.
- Check operation immediately. Close, latch, unlock, and reopen the door. Investigate new resistance before continuing the remaining runs.
The V25WA instructions have a placement detail worth checking
The maker’s linked EPDM installation sheet calls for clean, fully dry surfaces. It gives an installation range of roughly 40 to 90 degrees F. This is an installation condition, separate from cold weather performance claims.
The sheet says to separate strips if needed and start by unwinding about 12 inches. Remove the backing, press the adhesive firmly, and trim excess as directed. Do not assume every profile on the family page needs separation.
Its door directions describe stop molding at the top and hinge side, plus the inside of the door at the top and latch side. That is not a generic instruction to stack two strips across the top. If your assembly does not clearly match the placement described, confirm the intended arrangement before attaching anything.
The family sheet has no printed revision date. Instructions supplied with the exact package still need checking for a change. Do not replace its specific temperature range with a lower number from a general weatherization article.
Retained and mechanically fastened seals need their own procedure
A kerf insert, screwed carrier, and adhesive roll do not share one installation method. Follow the correct instructions for insertion direction, corners, fasteners, and adjustment. Cutting a groove or drilling new holes is not a routine substitute for finding the matching part.
If the retainer is damaged, replacement of the soft insert alone may not restore contact. Have the carrier and underlying frame checked. Keep the repair within the assembly’s documented design.
Bottom seals and thresholds require a separate check
A bottom draft can come from a worn sweep, a missing insert, poor contact, or a damaged sill assembly. Identify which component is supposed to meet the door. Some thresholds work with a compression seal rather than a brush sweeping across the floor.
Look across the full bottom edge with the door closed. Then open it and inspect the corners, attachment, and walking surface. Note whether a new floor covering or mat interferes with the existing part.
Do not assume every visible screw adjusts height. A threshold may have attachment screws, adjustment screws, or no adjustment system at all. Use its exact instructions before turning hardware or adding shims.
A sweep must match the swing, threshold shape, and installation surface. The correct position for another door may interfere with yours. Keep access and normal opening clear.
Water at the bottom requires a wider look than air contact alone. Inspect for damage and arrange diagnosis if the floor or frame is wet or soft. A new sweep is not a substitute for failed flashing.
Keep drainage clear when sealing fixed gaps
Flashing and sill details direct water back outside. Filling an outlet can trap water even when the finished bead looks tidy. Check the opening’s instructions before sealing along the sill or covering an unfamiliar slot.
Do not put expanding foam into the moving door joint. If the actual leak is around the installed frame, it belongs to a separate air sealing repair. That work may require trim access, inspection, and a compatible low pressure product specified for the opening.
Choose sealant only for a confirmed fixed joint and suitable surfaces. Do not bridge a drainage path or bury damaged material. None of these products replaces mechanical attachment or repairs rotten framing.
If you cannot identify the water path, have an installer explain it before applying material. Ask where incidental water exits and which joints must remain open. Those answers matter more than achieving an uninterrupted visible bead.
Check the finished repair in this order
A successful mobile home door seal repair preserves door operation while improving contact. Start by opening and closing the door several times. Confirm that the latch and lock work normally without lifting, slamming, or holding the panel inward.
Repeat your contact worksheet at the same locations. Look for missed corners and for a strip that rolls or detaches during movement. Check for air movement at the perimeter and trim as separate locations.
If the new strip is pinched or closure is harder, stop and check its thickness and position. Do not move the strike merely to force an unsuitable gasket to fit. Correct the mismatch before regular use.
If contact is better but you still feel cold near the door, locate moving air again. A cold surface alone does not tell you that weatherstripping failed. An energy assessment can distinguish remaining leaks from other sources of discomfort.
Keep the product label, profile photo, and your finished measurements. They make a future replacement far easier to identify. Check the repair again after normal use and after the next rain, especially at the lower corners.
Found a detail that needs checking? Tell us about a correction.