

Mobile home skirting closes the perimeter below the home, but the panels are only part of the purchase. A workable system also needs drainage, ventilation, service access and attachments that suit the home. Choose those details before choosing the finish.
Vinyl, metal, masonry and manufactured concrete panels can all appear in a skirting project. They don’t share one installation method. A stone appearance also tells you little about the material behind it.
Start with the home’s installation instructions, the site conditions and any local or community requirements. Then compare complete systems, including the parts you’ll need to remove for future repairs.
What mobile home skirting does, and what it cannot do
Skirting covers the gap between the lower exterior and the ground. Owners also call it underpinning or a foundation enclosure. Those names can obscure a crucial distinction: a perimeter covering does not automatically support or anchor the home.
A concrete look is no proof of a structural foundation. Before removing an existing masonry wall, establish whether it carries loads. An installer or engineer should resolve an uncertain support arrangement.
The foundation and underbelly overview separates the supports, enclosure and floor protection. Keep those systems distinct when comparing bids.
Skirting can help limit animal entry when gaps, screens and access closures form a complete enclosure. It cannot fix a plumbing leak, failed floor insulation or water collecting beneath the home. Covering those problems makes the next repair harder to inspect.
It also doesn’t replace the exterior siding’s drainage details. Coordinate the upper trim with the existing wall assembly. The broader exterior project planning guide explains how adjacent repairs affect one another.
Choose a skirting system by its site demands
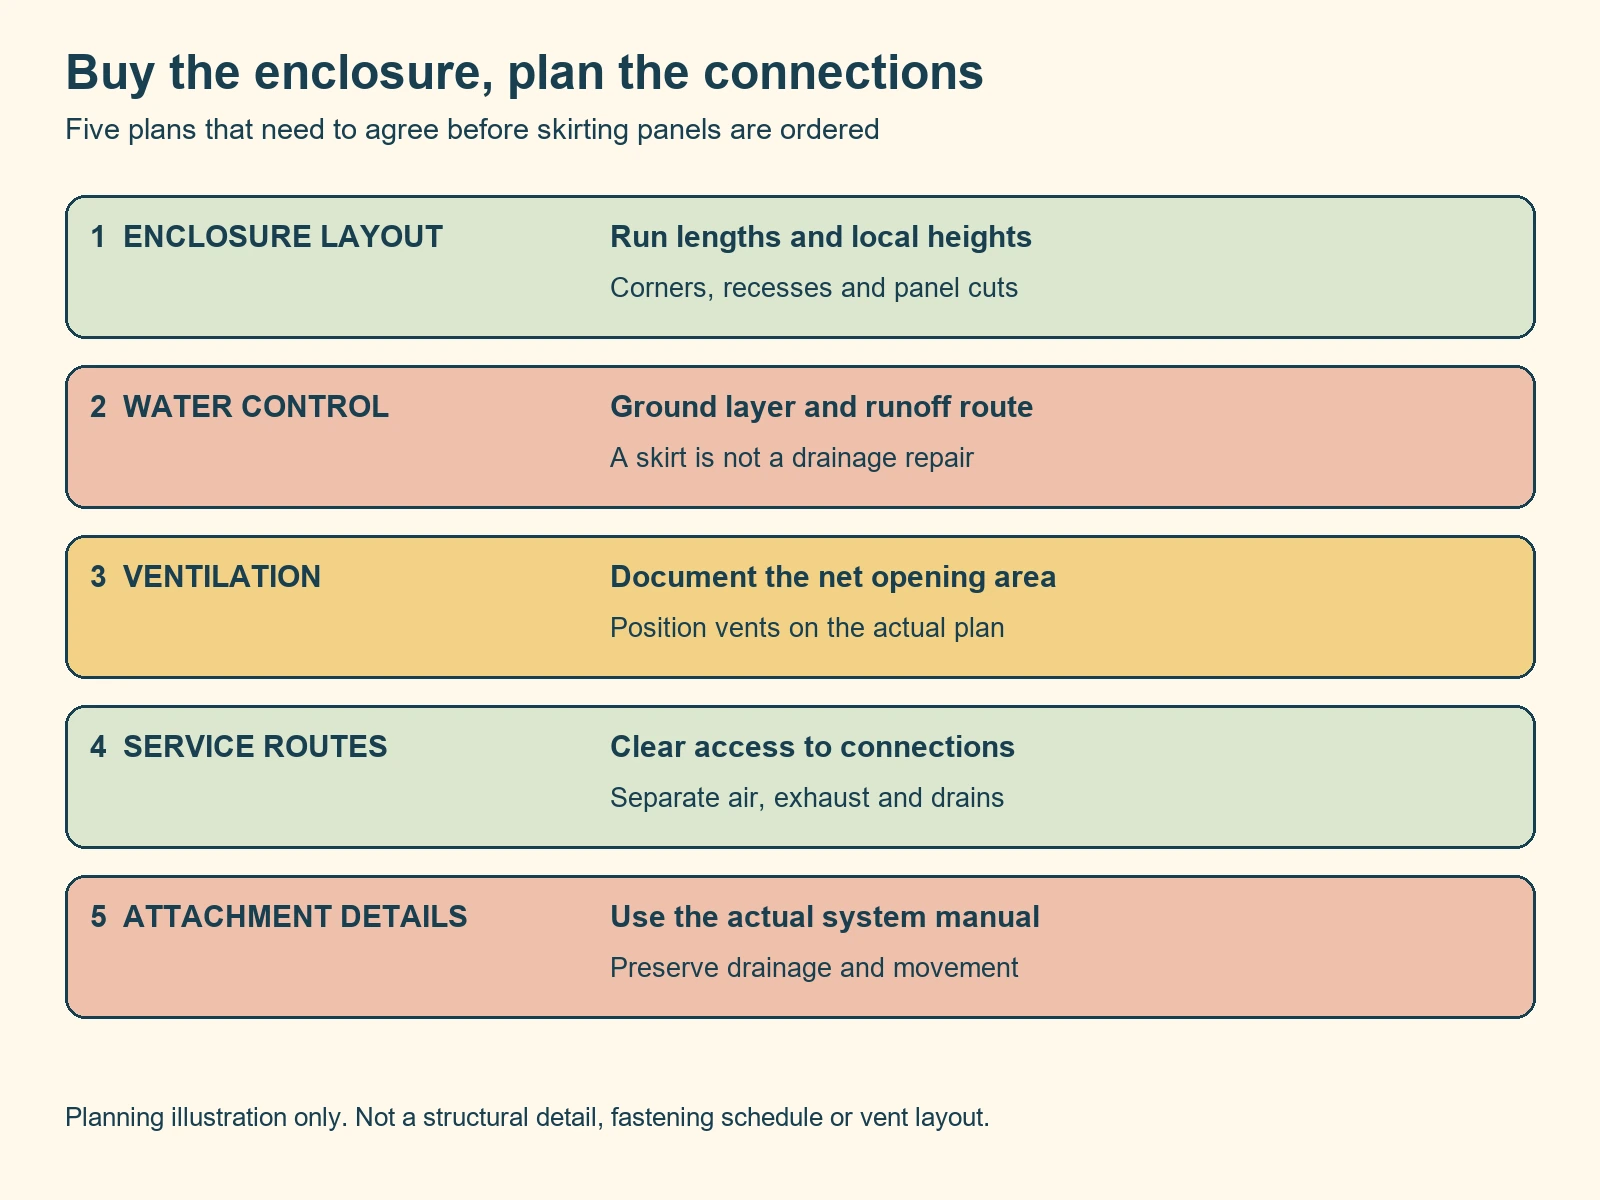
The most useful comparison is between documented assemblies. Ask what holds the panels, how movement is accommodated and how utilities remain accessible. A material name alone answers none of those questions.
| System you are considering | What to establish before buying | Reason to pause |
|---|---|---|
| Vinyl panels in matching rails | Exact panel and trim series, usable height, vent arrangement, compatible reinforcement and replacement availability | The seller offers panels without identifying the rails or instructions they require |
| Metal panels | Approved attachment, edge treatment, corrosion protection, ventilation openings and removable access | The proposal simply repurposes roofing sheets without an enclosure design |
| Manufactured concrete panels | Exact system, supporting surface, movement allowance and any permitted backfill conditions | Someone assumes every concrete panel can retain soil or carry the home |
| Brick or block enclosure | Whether it is structural, foundation design, drainage, openings and required approvals | The work changes support conditions without a qualified design |
| Wood or wood based enclosure | Suitability for exposure, protection near soil, finish maintenance and attachment details | Ordinary interior sheet goods are proposed close to damp ground |
| Insulated or decorative composite panels | Actual substrate, complete assembly instructions, vent design, clearances and claimed thermal performance | A texture or insulation label substitutes for compatibility documentation |
For vinyl, confirm that replacement panels engage the existing system. Similar colors or profiles can conceal different trim requirements. A small repair can become a larger purchase if the original series is unavailable.
For metal, inspect the proposed access and ventilation details as carefully as the panel finish. A continuous solid sheet does not provide the ventilation required by a conventional skirted crawlspace. Plan those openings before cutting the order.
For concrete, read the exact manufacturer’s limitations. Some proprietary systems allow specified backfill arrangements. That permission cannot be transferred to generic cement boards or another company’s panels.
Wood near soil needs suitable protection. The federal installation standard addresses decay and termite resistance for wood skirting within six inches of the ground. Paint alone isn’t a substitute for selecting material that meets the applicable requirement.
For an insulated assembly, ask which layer provides the stated performance. Request the treatment of joints, vents, access doors and ground contact. A panel’s advertised insulation value does not establish the temperature of the whole crawlspace.
Keep the thermal scope separate from the insulation protecting the floor and ducts. Buying a heavier skirt does not confirm that the insulation under the floor is dry or intact.
Resolve water and ground conditions before enclosing them
Look around the perimeter after rain, from a safe location. Record pooling, washed soil, roof runoff and damp patches near equipment drains. Send those observations with the skirting quote request.
Drainage needs a route away from the home. A new enclosure should not become a dam around the crawlspace. Avoid solving a visible bottom gap by banking soil against an assembly that isn’t designed to retain it.
A ground vapor retarder has a different job. It limits moisture coming from the soil; it does not drain standing water. The bottom covering attached to the floor is another separate layer.
Under the federal installation standard, an enclosed space generally requires a ground vapor retarder. The stated exception is an arid region with dry soil conditions. The minimum material is six mil polyethylene or an equivalent.
The standard addresses full coverage beneath the home, with exceptions for open porches, decks and recessed entries. It also specifies overlaps and repair of tears. Ask the installer to document the ground layer before new panels hide it.
Read the ground moisture control requirements when reviewing that scope. A patch of plastic visible beside the access door does not demonstrate complete coverage.
These are installation standards, not a remote determination of every existing home’s legal condition. The applicable home instructions, installation history and local authority still matter. Ask how the proposed repair will meet those requirements.
If the underfloor covering is torn, use the separate underbelly repair guide to define that work. Keep it as its own quote line rather than assuming new skirting includes it.
Make the vent plan visible in the quote
A vent count without its airflow area is incomplete. Screens, louvers and panel construction affect the usable opening. Ask for each vent’s documented net free area and a layout on the actual home.
HUD’s crawlspace ventilation standard provides the federal installation baseline. It specifies one square foot of net opening per 150 square feet of floor area. A qualifying ground retarder permits the reduced ratio of one per 1,500.
For a hypothetical 1,500 square foot home, those ratios calculate to 10 or one square foot of net opening. That is a preliminary area calculation, not a vent count. The reduced result depends on meeting the retarder condition.
The standard also addresses placement on opposite sides and openings as high as practicable. It calls for coverings that resist corrosion and weather and deter rodents. In freezing areas, the coverings must be adjustable for climatic conditions.
Ask the installer to apply the correct requirements to your actual home. Don’t convert this example into a universal shopping list. A continuous vent product needs its documented area counted by the length actually installed.
Closing every opening for winter isn’t a complete moisture or freeze protection plan. Confirm the operating instructions for your assembly and climate. Insulation, plumbing protection and ventilation decisions need to work together.
A sealed crawlspace conversion is a separate design decision. Adding foam, taping vents shut or installing a fan does not establish an approved system. Obtain a complete moisture and ventilation design before changing the existing strategy.
Keep service access, appliance air and exhaust separate
Mark utility connections and equipment before choosing an access door location. A convenient opening at one end may leave a service connection unreachable. Ask the people maintaining the home what route their work requires.
The installation standard requires an opening at least 18 inches wide and 24 inches high, with at least three square feet of area. That describes a minimum access opening, not a promise that every repair can pass through it. Equipment work may need more clearance.
Check the clear opening after trim, hinges and closures are installed. A labeled door size can describe something other than the unobstructed passage. Confirm the route remains usable around steps, landscaping and stored items.
Dryer exhaust and combustion air inlets must reach the outside through the skirting. Neither should end inside a newly enclosed cavity. Keep general crawlspace vents distinct from appliance connections.
Identify equipment drains too. Their runoff needs a proper destination away from under the home. Have the relevant technician resolve an uncertain pipe or inlet before panels conceal it.
Measure for the layout, then order the parts
A mobile home skirting package labeled for the home’s length and width is a starting point. Actual perimeter height, slopes and interruptions determine what can be cut from the supplied panels. Ask the supplier to check your measurements against its specific system.
Make a simple perimeter sketch. Label each straight run, corner, access opening, vent area and utility penetration. Include recesses and the boundaries behind open decks where applicable.
Measure heights at corners and wherever the ground changes. Keep those locations on the sketch instead of recording only one average. A short low side cannot compensate for panels that cannot reach the high side.
Use the system’s instructions to determine cut lengths and movement allowances. Don’t cut panels directly to the visible gap. The receivers, engagement and ground conditions affect that detail.
Here is an illustrative ordering check. A rectangular enclosure measuring 60 feet by 28 feet has a perimeter of 176 feet. That calculation is twice the sum of its length and width.
It does not establish panel quantity. Coverage width, available stock length, varying heights, corners and cutting waste remain unknown. A seller needs those details before confirming a complete package.
| Record on your sketch | Why the supplier needs it |
|---|---|
| Each run length and any return | Counts the actual enclosure route rather than an advertised home footprint |
| Local heights and changes in grade | Checks maximum reach and which cuts can share a stock panel |
| Access location and clear passage | Includes closures without sacrificing service access |
| Vent model and installed locations | Supports a documented net area calculation and distribution |
| Upper attachment and ground surface | Identifies the required trim, supports and movement detail |
| Appliance, drain and utility crossings | Prevents an incomplete order or concealed connection |
Use photos where measurements need context. Include the existing panel edge, upper receiver and bottom channel if you want a partial replacement. The parts compatibility guide explains why appearance alone cannot confirm a match.
Compare total mobile home skirting cost, not panel prices
A useful price is a dated quote for your documented enclosure. Broad national totals often mix bare panels, complete material packages and installed work. Those are different purchases.
Ask each bidder to price the same scope. Otherwise, the cheaper proposal may leave you to arrange ground preparation, missing trim or disposal. A premium panel can still arrive without a workable installation plan.
- Materials: panels, matching rails, corners, access components, vents, supports and specified fasteners.
- Site work: removal, disposal, surface preparation and any separately designed drainage corrections.
- Hidden repairs: ground retarder, damaged underbelly or utility work, with approval required before extra charges.
- Delivery: freight, unloading arrangements, damaged shipment procedures and return restrictions.
- Installation: labor, required approvals, documentation and the exact boundary of the workmanship warranty.
For clearance or discount stock, first confirm that matching trim and enough usable panels remain available. Ask whether the offer includes damaged pieces, discontinued colors or restricted returns. A partial bargain may require buying a second incompatible system.
Compare mobile home suppliers, manufacturer distributors and local building suppliers using the same parts schedule. Online availability does not confirm freight to your location or local approval. Obtain written answers before placing the order.
Confirm that the documented system fits your site and service needs before paying. Keep the final model numbers and installation documents with the home records.
What a sound installation plan should explain
A general article cannot supply one fastening pattern for every skirt. Vinyl rails, framed metal, masonry and proprietary concrete assemblies need different details. Use the current instructions for the actual home and enclosure product.
The federal skirting requirements address weather resistance, wall drainage and freedom for exterior covering movement. An upper attachment should not force water into the wall. It also must not restrain the covering’s expansion and contraction.
Ask the installer to show the planned upper junction before covering it. Confirm the bottom support and how the assembly handles the site’s seasonal movement. Do not improvise by driving extra fasteners through every loose panel.
For a proprietary system, check the manual’s stated limits. The concrete system manual reviewed for this guide expressly separates skirting from foundation support and anchorage. It also treats water drainage and frost conditions as installation considerations.
Where flooding is possible, ordinary ventilation and flood openings are different design questions. Ask the local floodplain official to review the enclosure before ordering. A panel advertised as weather resistant does not establish flood suitability.
Local requirements and community rules may affect the material, timing or approval process. Check them directly rather than assuming skirting is optional everywhere. Conversely, a rule in one state cannot establish the requirement for another.
DIY work is most manageable when the assembly, attachment surface and site conditions are already clear. Get qualified help for uncertain support walls, drainage problems or changes near equipment. Avoid entering a crawlspace with standing water, suspected electrical hazards or unstable supports.
Repair the failure before replacing the finish
Loose, bowed or cracked panels are symptoms to investigate. Photograph the damage and note whether it followed wind, freezing, mowing or other work. The pattern helps the installer choose what to inspect.
| What you notice | What to have checked | What replacement alone could miss |
|---|---|---|
| Panels repeatedly leave the bottom receiver | System engagement, local height, compatible restraint and movement detail | A recurring assembly problem affecting new panels too |
| Upper trim is loose or water appears behind it | Attachment condition and the wall’s water exit | Damage hidden behind a cosmetic cover |
| Animal entry continues | Perimeter gaps, screened openings, penetrations and access closure | An opening elsewhere in the enclosure |
| Ground stays wet | Runoff, drains, plumbing and ground retarder condition | A moisture source that a stronger panel cannot correct |
| Masonry cracks or changes position | Its structural role and the underlying movement | A support issue that needs qualified assessment |
These are inspection prompts, not diagnoses. Keep removed pieces when they help identify the original system. Ask whether a repair can preserve sound components without mixing incompatible parts.
After installation, walk the perimeter with the installer. Open and close the service access, locate every vent and identify equipment outlets. Photograph concealed work before the final panels go on.
Add the skirt to the home’s regular maintenance walkaround. Check after severe weather and whenever someone services utilities beneath the home. Keep vegetation and stored items from obscuring openings or access.
The finished project should leave you with more than an attractive base. You should know what is installed, how it drains and ventilates, and how someone can remove it for service. Those details make the next repair simpler to plan.
Found a detail that needs checking? Tell us about a correction.