

A replacement window for mobile home repairs needs a written fit specification before it needs a brand name. Matching the old label is only a starting point. The order must also match the mounting system, wall connection, required operation and any bedroom escape function.
Build the purchase around each opening, rather than buying a pallet of apparently identical units. Two windows can share a catalog size yet need different installation details. A bedroom window and a living room window may also need different operating specifications.
This guide starts after you have decided to replace the complete unit. If that decision remains open, compare component repair with complete window replacement first.
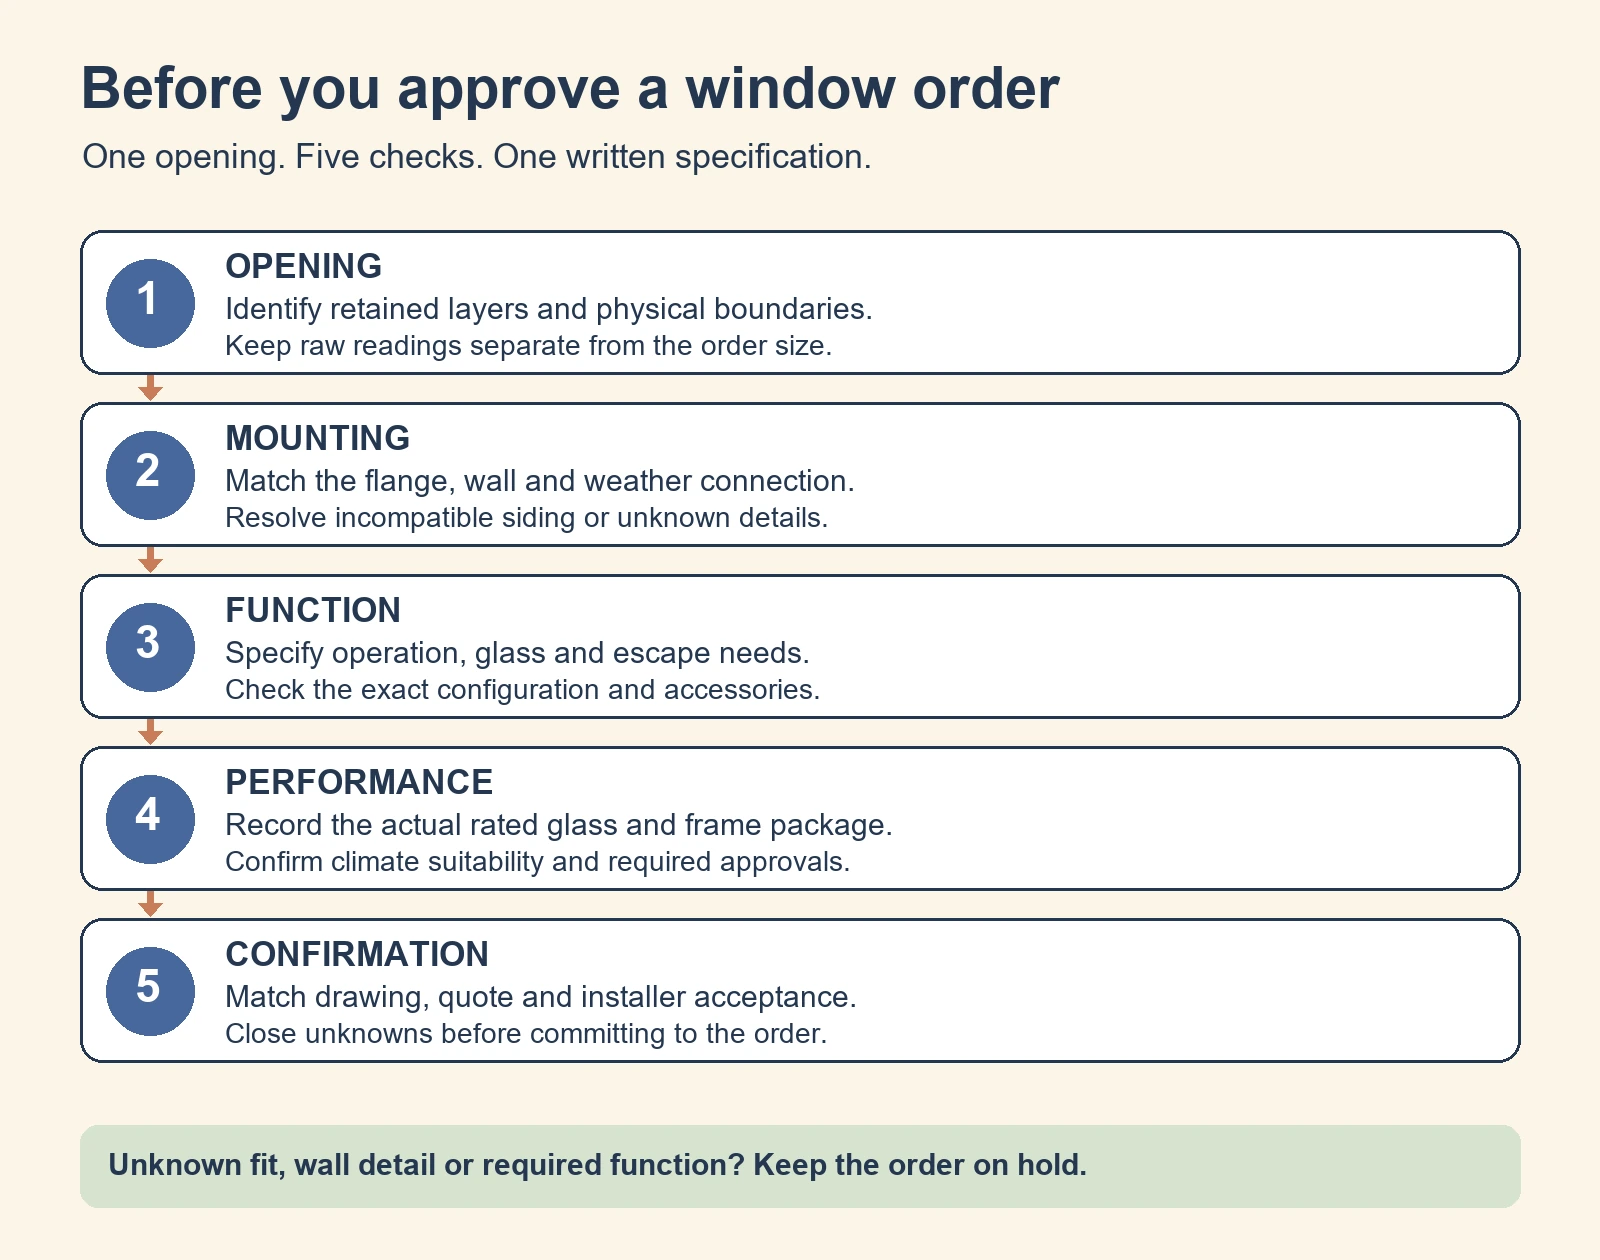
Choose a replacement window for mobile home repairs in this order
- Identify what will remain. Establish whether the original frame stays or the whole assembly comes out.
- Document the wall connection. Record siding, mounting surface, flange arrangement and interior depth.
- Specify the required function. Include operation, bedroom escape needs and any required glazing specification.
- Compare the exact proposed units. Request physical dimensions, configuration, ratings and applicable instructions.
- Approve a written match. Resolve differences between your observations, the supplier’s drawing and the installer’s scope before ordering.
Keep unknowns visible. “To be confirmed” is useful on a preliminary quote. It becomes a reason to pause when the supplier asks you to approve a custom order.
For projects involving doors too, the doors and windows planning guide helps separate the different parts and measurements.
Specify the replacement system before the size
The word “replacement” describes the project, but it does not identify the window’s mounting design. Ask what the installer intends to remove and what the new unit will attach to. That answer establishes the boundary you must measure.
| Proposed system | What the description means | What needs confirmation |
|---|---|---|
| Insert or pocket unit | A new unit fits within a retained existing frame | The old frame is suitable, sound and square; the resulting opening still performs its required functions |
| Complete frame removal with a flanged unit | The old window assembly is removed; the new frame has a mounting flange or fin | The exact flange and weather connection suit the wall and installation method |
| Complete frame removal with a flangeless unit | The new window has no projecting mounting fin | An approved anchorage and weather detail exists for this unit and wall |
An insert is not simply a smaller window dropped into the bare wall opening. It relies on a retained frame. A flanged unit, often sold as a new construction window, can serve a replacement project when the wall detail allows it.
These terms describe installation categories, not approval of a particular product for your home. Andersen’s manufacturer guidance distinguishes them explicitly. Do not assume a product in that brand’s general replacement range suits a manufactured home.
When a quote says “no siding removal,” ask the installer to identify the retained layers. Request the method for connecting the replacement to the existing weather protection. Preserving trim is useful only when the remaining assembly can do its job.
Do not choose an insert merely to conceal a deteriorated frame or avoid investigating a leak. A new unit inside an unsuitable old frame leaves the old problem in the assembly. Changes to an opening or its support require qualified assessment before the purchase.
Make the wall and flange a purchasing requirement
Take an exterior photograph showing the entire opening and surrounding siding. Add close views of the frame edge and any visible mounting flange. Indoors, photograph the full opening, trim and anything that could interfere with operation.
Give the same photographs to the supplier and installer. Ask each to confirm the proposed system against that wall. A salesperson’s size confirmation does not settle the installation detail.
Metal siding needs an exact approved detail
Lippert’s vinyl window installation instructions prohibit placing vinyl nailing fins over vertical or horizontal metal siding. They warn of fin damage and leaks. The document mentions aluminum mounting flanges for that condition.
That reference is not permission to attach any aluminum flange to any vinyl window. A related HUD instruction sheet repeats the fin warning, then includes broader wording about vinyl windows over metal siding. Ask the manufacturer or supplier to resolve the applicable detail for the exact ordered assembly.
Keep the order on hold if the reply is only “all mobile home windows fit.” Request the flange material, product drawing and approved mounting arrangement in writing. The installer should accept that arrangement before you pay for a custom unit.
Depth affects the finished opening
A wider frame can mean greater depth into the room, rather than greater width across the wall. Put those dimensions in different worksheet fields. Otherwise, a conversation about trim can become a mistaken change to the ordered width.
Record the intended exterior seating plane and the inside finished surface. Ask how the proposed frame reaches between them. Include any retained storm window, interior return or projecting trim in that conversation.
For the Lippert vinyl systems discussed above, interior finish must not prevent proper seating or obstruct sash movement and locks. This is a useful reason to request a section drawing. A matching front view cannot show every depth conflict.
Record dimensions without silently changing them
Use the window size and measurement guide for the measuring procedure. Keep the original readings alongside the supplier’s proposed dimensions. Do not replace your observations with an adjusted order number and discard the originals.
Your record should distinguish these boundaries:
- Catalog or nominal size: The name used to sell that configuration.
- Actual frame size: The physical outside dimensions of the specified unit.
- Receiving opening: The space accepting the unit, after identifying which layers remain.
- Flange dimensions: The projecting mounting perimeter, separate from the frame.
- Clear operating opening: The usable aperture when the window opens normally.
Ask whether the seller wants rough opening measurements, actual frame measurements or another defined dimension. Then ask who applies the clearance allowance. Do not deduct once yourself and let the factory deduct again without knowing it.
A supplier may have a valid ordering convention that differs from another company’s convention. Written definitions matter more than guessing which company uses a familiar label. The correct acknowledgment should translate your opening record into one identifiable unit.
A crooked opening needs assessment, not an optimistic average of several measurements. The installer must establish a usable receiving opening and suitable mounting surfaces. Do not enlarge, pack out or alter the supporting wall merely to rescue an unsuitable order.
Choose operation and glass around the room
Specify the operating style and which sections move. “Slider” alone may not tell the factory which side operates. Use the manufacturer’s handing convention and an annotated drawing rather than assuming an inside or outside viewpoint.
Ask to see how the sash, locks and screen work. Try the sample from a realistic reach position if one is available. A mechanism that looks convenient in a showroom may be awkward above a deep sink.
For an outward opening unit, discuss exterior obstructions and the required operating space. Indoors, check blinds, counters and proposed trim. Do not exchange a functioning escape opening for a fixed decorative unit without resolving that requirement.
List the glass package separately from the operating style. Include clear or privacy glass, any required safety glazing, coatings and the number of panes. Have the supplier and installer establish the applicable glazing requirement for the actual location.
Do not treat “tempered,” “insulated,” “impact rated” and “energy efficient” as interchangeable terms. Ask what each claimed feature establishes for the specified product. A quote should not substitute one property for another required property.
For general parts substitutions, use the compatibility checks for ordinary house parts. A manufactured housing label alone does not settle these separate questions.
Protect bedroom escape function before approving the order
A large outside frame does not prove a large escape opening. The sash, tracks and operating design determine the aperture available during normal use. Request the exact configuration’s certified clear opening information.
The federal manufactured home construction standard requires an egress opening at least 20 inches wide and 24 inches high. It also requires at least 5 square feet of clear area. All three tests apply; meeting the two minimum dimensions does not establish the area.
The exact federal egress window standard also requires normal opening without tools or binding. Removing the sash to achieve the required size is prohibited. Keep the certification and permanent operating instructions with the specified assembly.
A related federal provision requires an outside escape window or approved device in a sleeping room, with an exit door exception. It sets the opening bottom at no more than 36 inches above the floor. Devices necessary for escape must be no higher than 54 inches.
These are federal construction provisions, not a blanket declaration about every alteration to every existing home. Have the installer and responsible authority establish the requirements for your project. Include the required escape function in the purchase approval, rather than investigating after delivery.
List screens, storms and any guards as part of that review. An accessory must not defeat the intended exit. A compatible looking screen is not sufficient evidence that the finished assembly preserves escape operation.
Compare rated performance, not pane count alone
Two panes describe part of the glazing construction. They do not identify the whole window’s energy performance. Compare the labels for the actual frame, operating style and glass configuration being quoted.
| Rating | What it describes | How to use it |
|---|---|---|
| U factor | Heat transfer through the rated product | A lower value means better resistance to heat transfer |
| Solar heat gain coefficient | How much solar heat the product admits | Compare the value with climate, orientation and shading needs |
| Visible transmittance | Daylight passing through the product | Consider the room’s light needs alongside solar control |
| Air leakage, where provided | Rated air passage through the product | Keep it separate from the quality of the completed wall installation |
NFRC ratings let you compare energy properties. They do not establish dimensional fit, structural anchorage or bedroom escape suitability. Keep each of those approvals in its own field.
Use the current ENERGY STAR window buying guidance to check climate certification. There is no single glass package that is automatically the best choice for every exposure. Ask for the exact rated configuration in the quote.
A sample label from another product in the same series is not the final specification. Get the actual values or identified certified configuration the supplier will deliver. Keep them with the model number and glass selection.
Avoid comparing proposals through promised bill reductions alone. Those estimates need assumptions about the existing home and how it is heated and cooled. Request those assumptions before treating a projected saving as part of your budget.
Energy performance does not approve the anchorage
Ask who checks the window’s structural rating and attachment for the home’s location. Wind exposure and supporting materials belong in that assessment. A climate label cannot substitute for a suitable installation specification.
These installation instructions make anchorage dependent on site conditions and applicable requirements. They also identify additional support for certain wide projected units. Do not transfer a small window’s attachment detail to a large picture or sliding assembly.
Where the project needs engineering or a specific product approval, request it before the order is finalized. Record the approved unit and configuration, not just a brand name. Changing the glass, size or mounting arrangement afterward needs another suitability check.
Copy this window order worksheet for every opening
Assign a stable location name such as “rear bedroom, left window.” Use the same name on photographs, quotes, drawings and delivery labels. Give adjacent windows separate records even when they initially appear identical.
| Field | Record before approving |
|---|---|
| Opening identity | Room, wall, location, quantity and labeled photographs |
| Existing assembly | Manufacturer identifiers where available; operation; old frame retained or removed |
| Raw dimensions | Original measurements, units, measured boundaries and restrictions that need investigation |
| Receiving opening | Installer’s confirmed usable opening and any approved preparation included in the price |
| Order convention | What the stated size measures; who applies the allowance; final actual frame dimensions |
| Wall and mounting | Siding, seating plane, exact flange or fin, anchorage detail and weather connection |
| Finished depth | Frame projection, returns, retained storm, trim treatment and unobstructed operation |
| Required function | Operating style, handing viewpoint, bedroom escape information and accessory compatibility |
| Glass and performance | Exact glazing package, necessary safety specification, climate suitability and rated configuration |
| Product identity | Manufacturer, series, model, configuration, drawing and applicable instruction revision |
| Commercial scope | Unit price, installation, trim, siding work, delivery, disposal, exclusions and damage reporting |
| Final acceptance | Who checked site dimensions; supplier acknowledgment; installer approval; unresolved items closed |
Send the completed record back with the quote. Ask for corrections against specific fields, rather than accepting a general “yes, it fits.” Keep the confirmed revision so an old drawing cannot quietly become the order.
When buying a replacement window for mobile home work online, request this confirmation before checkout. A stock listing can still have an unsuitable mounting configuration. A custom order deserves particular care because the seller’s return terms may differ.
A matching size can still be an incomplete order
Consider a hypothetical rear bedroom order. The seller confirms a familiar catalog label and insulated glass, but the quote omits the operating aperture. The installer also has not confirmed the flange arrangement against the metal siding.
Do not reject the entire project or approve the unit from those partial answers. Return the record with two open fields: certified escape information and the applicable wall connection. Request a revised specification that resolves both.
If the revised model changes, ask the supplier to confirm the complete record again. A corrected flange choice does not automatically preserve the original glass package or opening dimensions. Keep the latest agreed version as the purchase reference.
Compare quotes using the same opening schedule
Ask each bidder to price the same numbered openings and specifications. Split the quote into the delivered windows and the work required to finish them. A low unit price and a low completed project price are different offers.
Require an explicit answer about interior returns, exterior trim, siding disturbance and disposal. Ask how concealed opening damage will be documented and priced if discovered. Agree on the process for approving additional work before it begins.
Check responsibility for measurement errors. If you supply dimensions, ask exactly what the seller is accepting from them. If a contractor measures, have the contract identify that responsibility rather than leaving two parties to blame each other.
Consider this hypothetical comparison: one quote retains the old frame and preserves the trim. Another removes the entire unit and includes new interior returns. Even identical exterior sizes would not make those two installation scopes equivalent.
Have both bidders explain why their system suits the observed wall condition. Then request prices for the same acceptable scope where possible. Do not select the cheaper approach until the frame condition and required finished opening are resolved.
For multiple units, ask whether delivery, handling and installation are priced per opening or per project. For a phased project, identify which rooms are included now. The schedule should remain usable when the remaining windows are ordered later.
Review the warranty by separating product coverage from installation coverage. Ask who handles a damaged shipment, an incorrect configuration and a later installation complaint. Keep contact details and written terms with the order record.
Check the shipment before the old window is removed
Match each delivered unit to its opening ID and approved acknowledgment. Verify model, dimensions, operation, glass and finish. Inspect accessible surfaces for shipping damage according to the seller’s receiving procedure.
Confirm that required screens and accessories arrived with the correct units. Keep the product labels and installation instructions identifiable. A general instruction sheet for a different mounting system does not close the order record.
Document a mismatch before installation changes the evidence. Contact the responsible seller or installer and follow the agreed reporting process. Do not cut a fin, alter the frame or modify the wall simply to make an incorrect delivery usable.
After installation, review normal operation, locks, screens, finish and any required escape function with the installer. Retain the final product and opening records together. A replacement window for mobile home repairs is ready for use when the delivered assembly matches the approved specification and works as intended.
Found a detail that needs checking? Tell us about a correction.